An automatic Table of Contents uses Styles to keep track of page numbers and section titles for you. Microsoft Word is able to scan your document and find everything in the Heading 1 style and put that on the first level of your table of contents, put any Heading 2’son the second level of your table of contents, and so on. this is also known as an automatic index.
- Put your mouse where you want the table of contents to be placed.
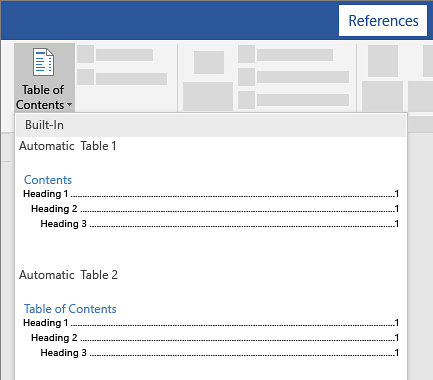
- Go to References > Table of contents and choose an automatic style as shown in the picture.


3. If you make changes to your document that affect the table of contents, update the table of contents by right-clicking the table of contents and choosing Update Field.
4. You have succesfully created an table of contents. if in doubt or have other questions leave a message.

Read one of my other tutorials that might apply to you like, Automatic outlook signature.
Best view i have ever seen !